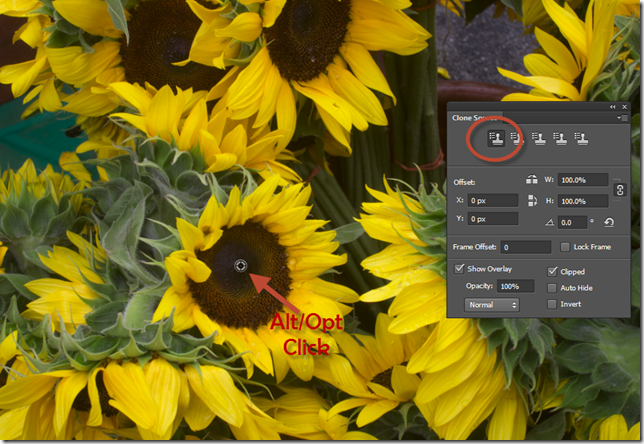
The Clone Source panel (Window > Clone Source) has options for the Clone Stamp tools or Healing Brush tools. You can set up to five different sample sources and quickly select the one you need without resampling each time you change to a different source. You can view an overlay of your sample source to make it easier to clone the source in a specific location. You can also scale or rotate the sample source to better match the size and orientation of the cloning destination, as I demonstrated in a recent video tutorial (view on YouTube).
You can set up to five different sampling sources at a time in the Clone Source panel. The Clone Source panel saves the sampling sources until you close the document.
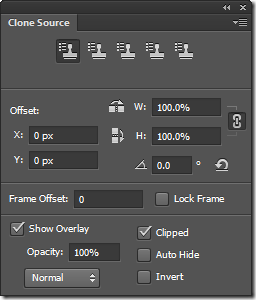 To set the sampling point, select the Clone Stamp tool and Alt-click (Windows) or Option-click (Mac OS) in any open document window.
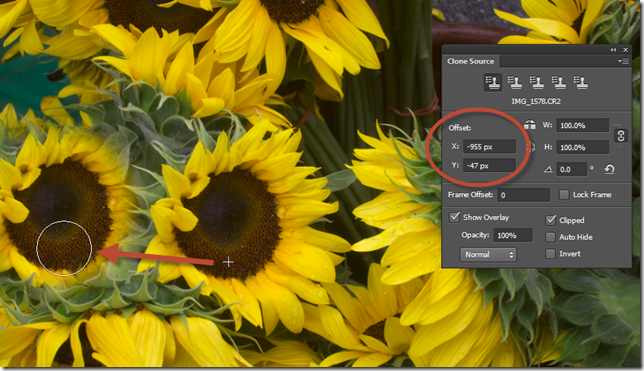
When you start to paint with the Clone Stamp, the Offset values are locked in according to the source point you set.
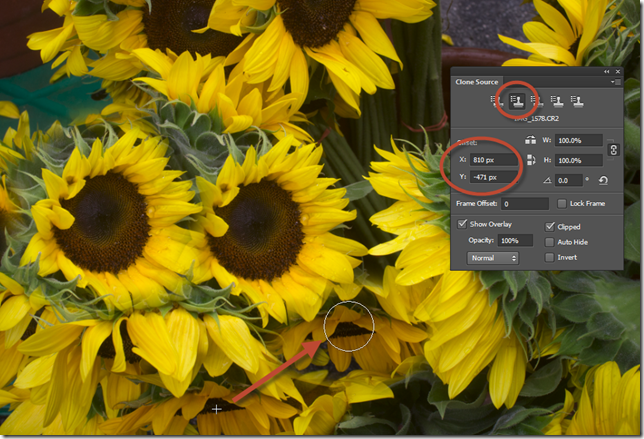
To set another sampling point, click a different Clone Source button in the Clone Source panel, then repeat the process of Alt-clicking or Option-clicking to establish a new source. When you start painting, the new offset values are stored in the new source point.
With multiple sources defined, you can swap back and forth between them just by clicking the Clone Source Buttons at the top of the panel. This prevents the need for repeatedly sampling the same spots.
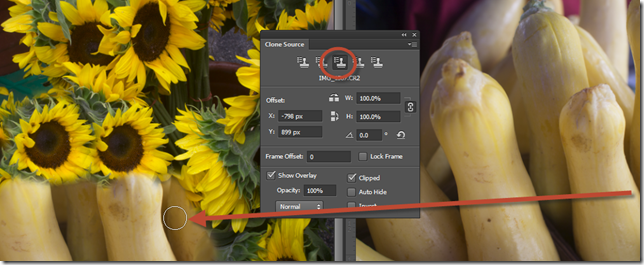
Did I mention, the sampling point can come from any open document?
You can change the sampling source for a Clone Source button by setting a different sampling point.
The Clone Source Panel has many other features. See my video on Cloning with Symmetry for more retouching goodness.
